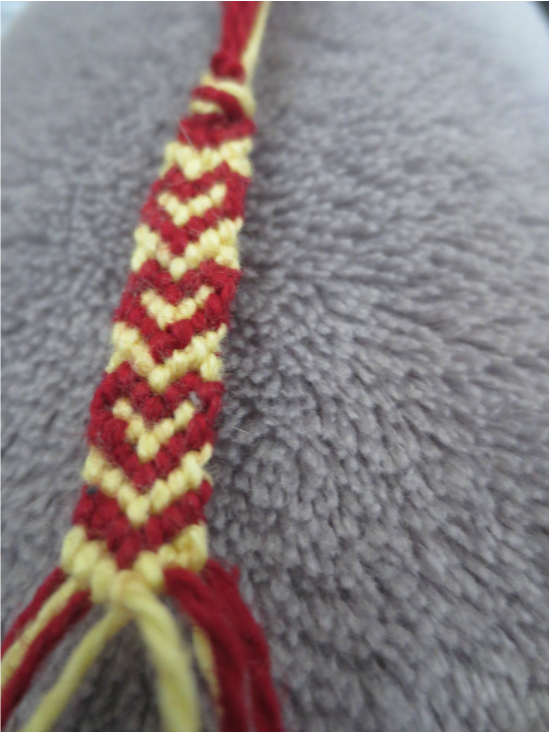
Looking for a cool bracelet to make? Well here's one that's definitely easier than it looks! It's a lot easier if you already know how to make a Chevron bracelet, but if you don't then just jump to the end of this post and I'll show you what you need to know. All you're going to need for this bracelet is:
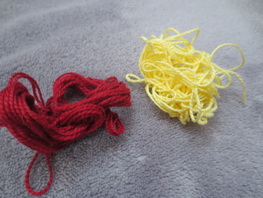 | -2 colors of embroidery floss or craft thread -Scissors -Something to hold down the thread like a safety pin, tape, binder clip or a clipboard. |
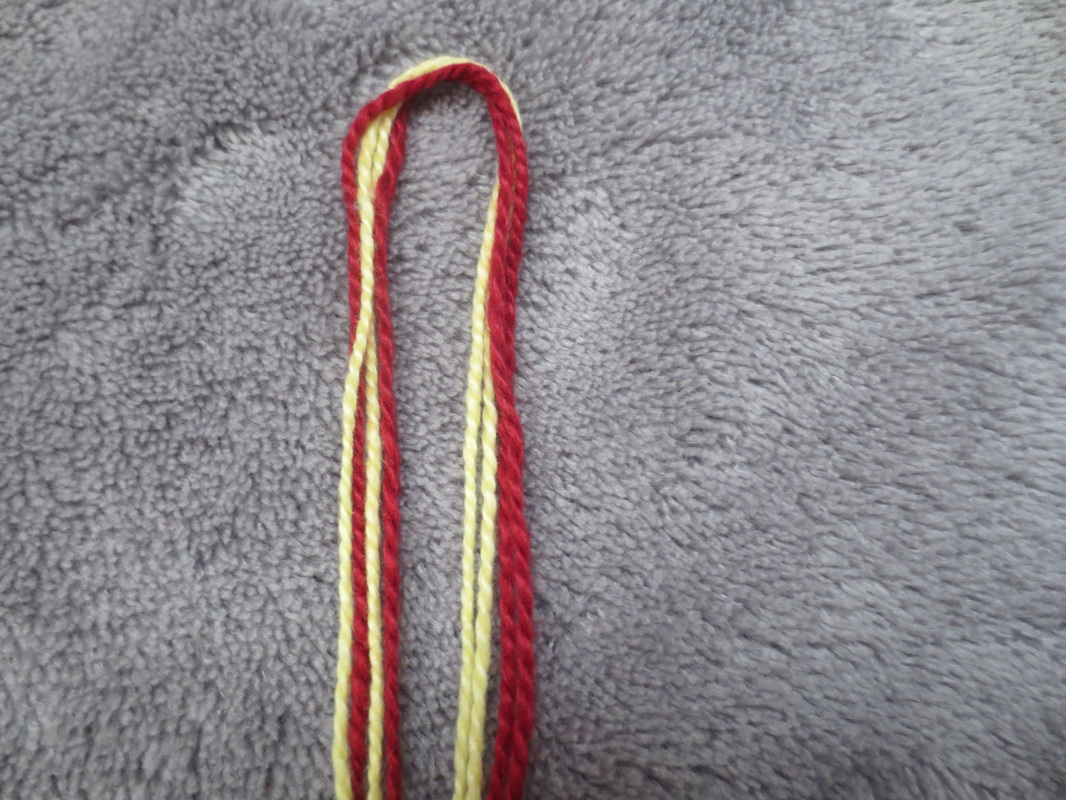
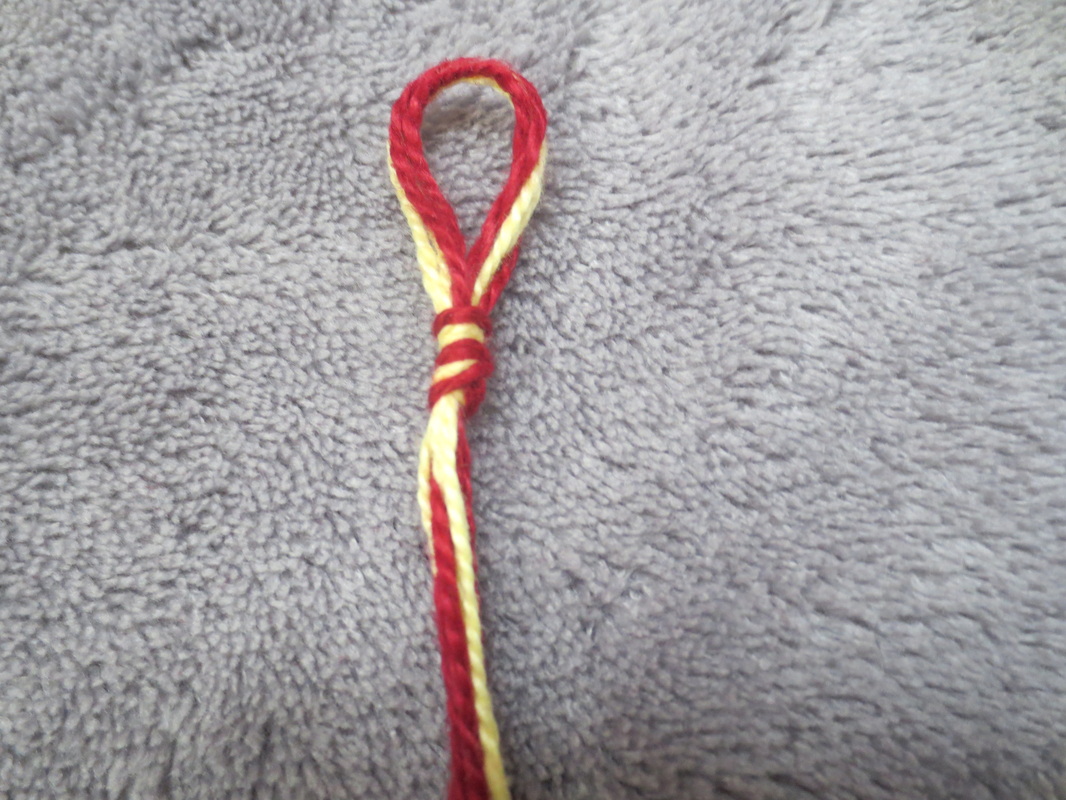
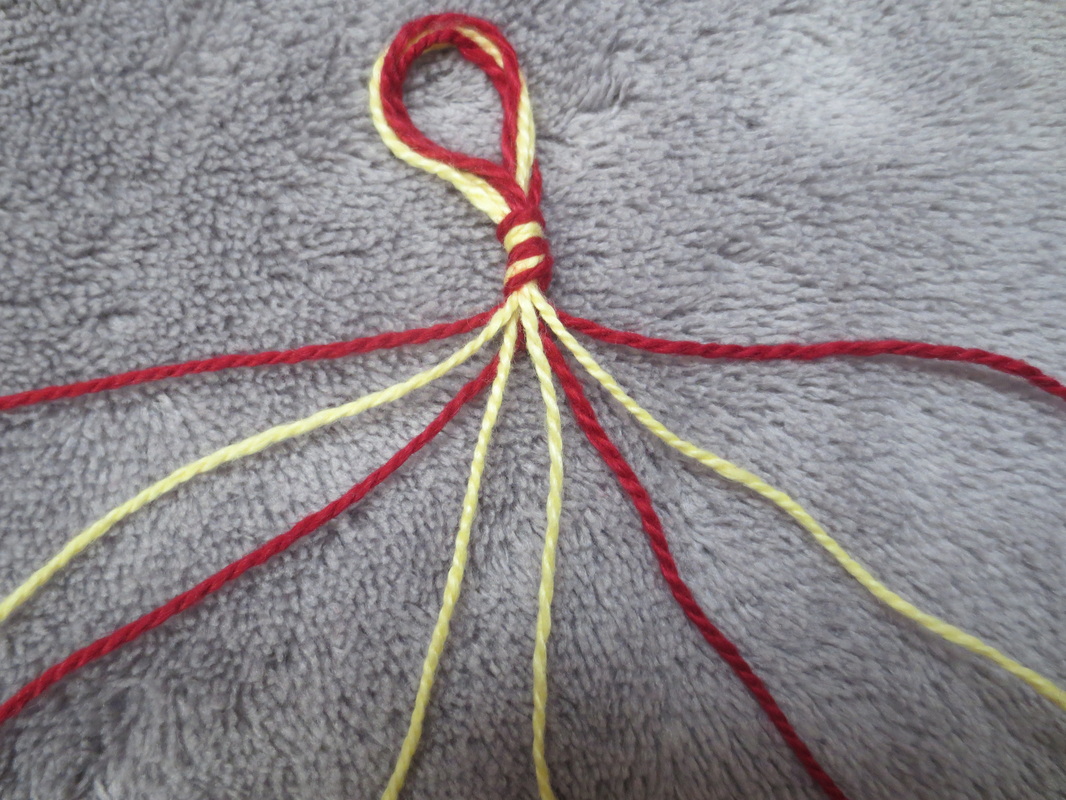
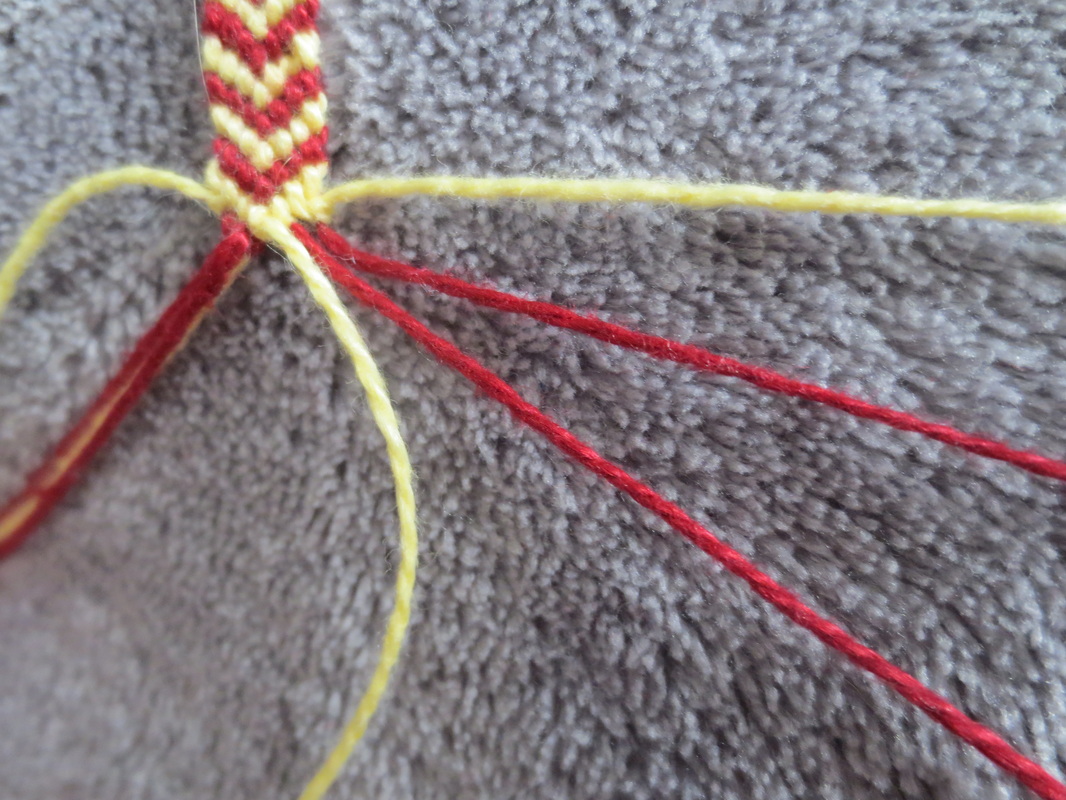
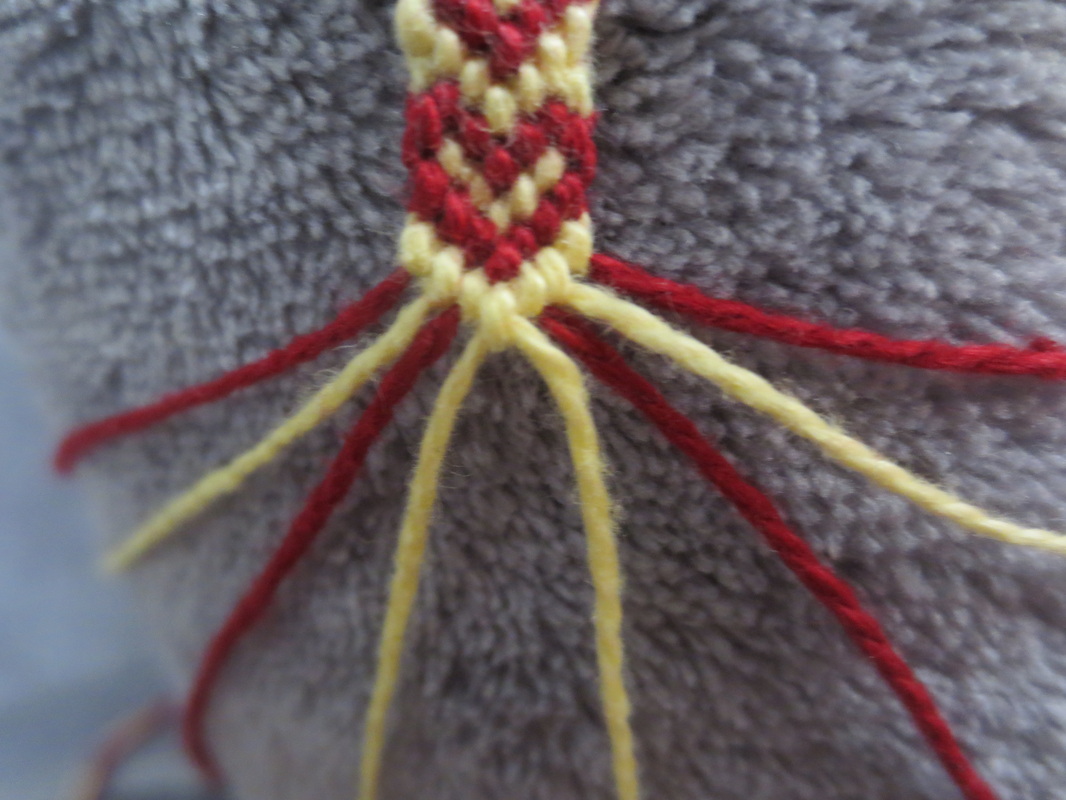
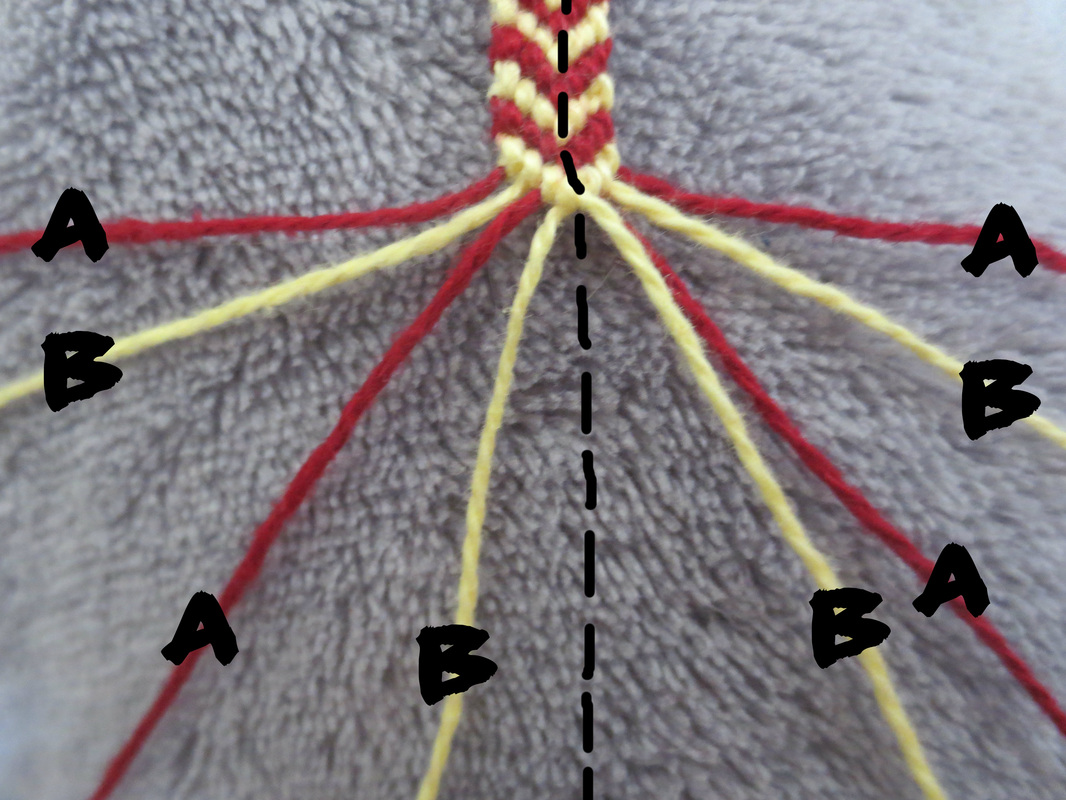
You'll need two stands from each color so you have a total of 4 strings. To measure the length, I usually just hold the string and use the length of my arm from my fingers, up to my shoulder, and back down to my fingertips. It might seem like a lot of string, but trust me you'll need it. After you cut your 4 strings, fold them in half and tie a loop where they fold. Now you have 8 strings to work with. Set them up so that they are all spread out in an "ABABBABA" pattern like I have shown in the 3rd picture below. The color that is on the end's is the color that will be the heart on your bracelet and the other color is going to be the background. In my case the color of the heart, which we'll call color 'A', is red. The yellow is going to be the background color, and we'll call that one color 'B'.
 |  |  |
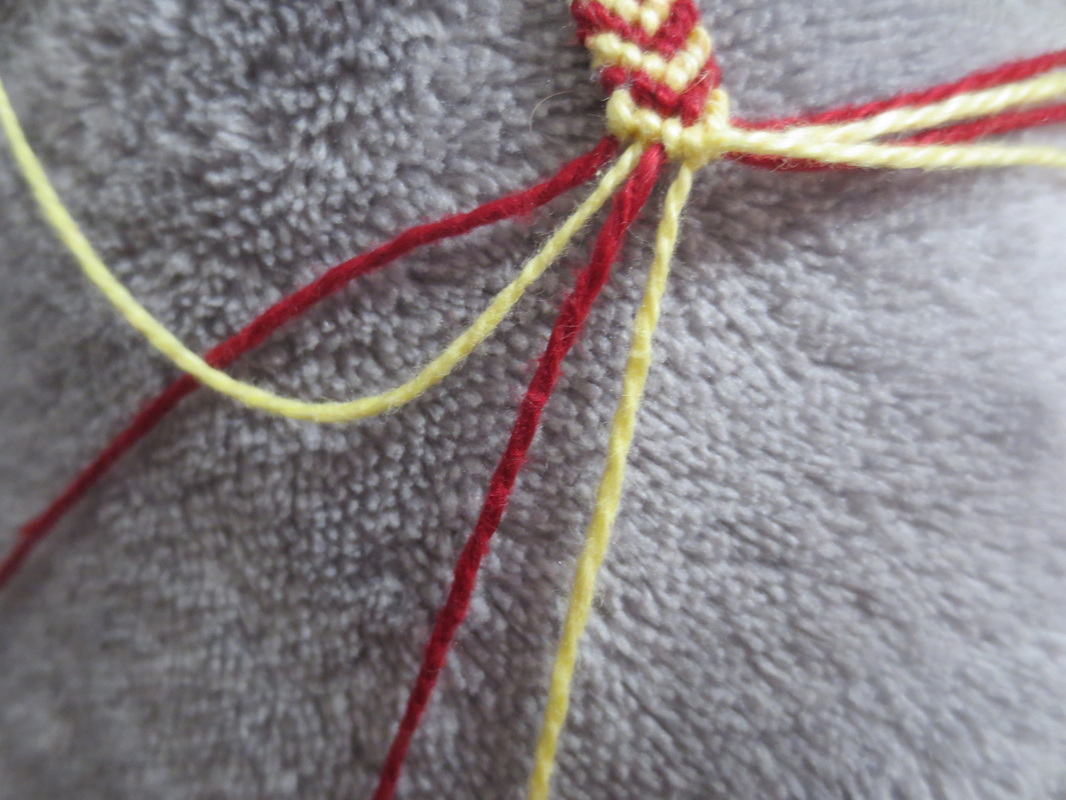
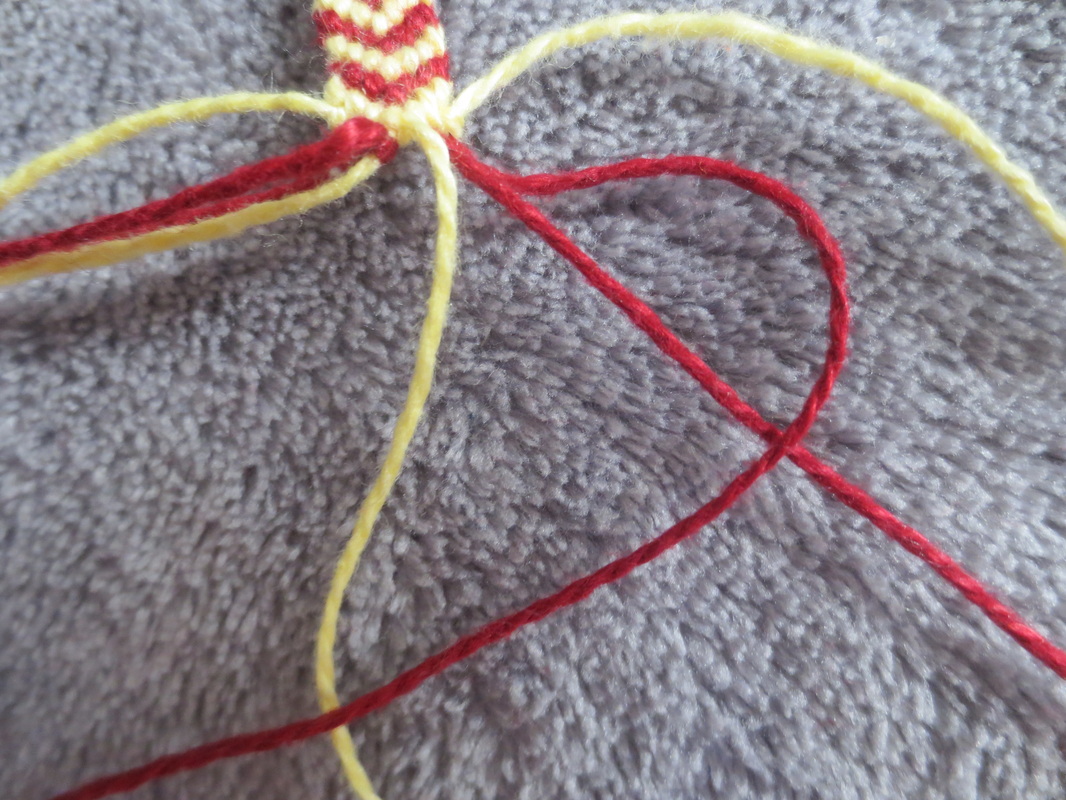
To start off the bracelet, you'll want to make two "chevron" rows. Otherwise your first heart might come out looking a little weird. After that you'll start the rows that will make the actual heart. Start with the first 4 strings on the left; you can set the other 4 to the side for now. Take the string of color B and make two backwards knot over the first color A string. Always remember to knot twice. Now the 4 strings should be set up in a "BAAB" pattern like shown below.
 |  |
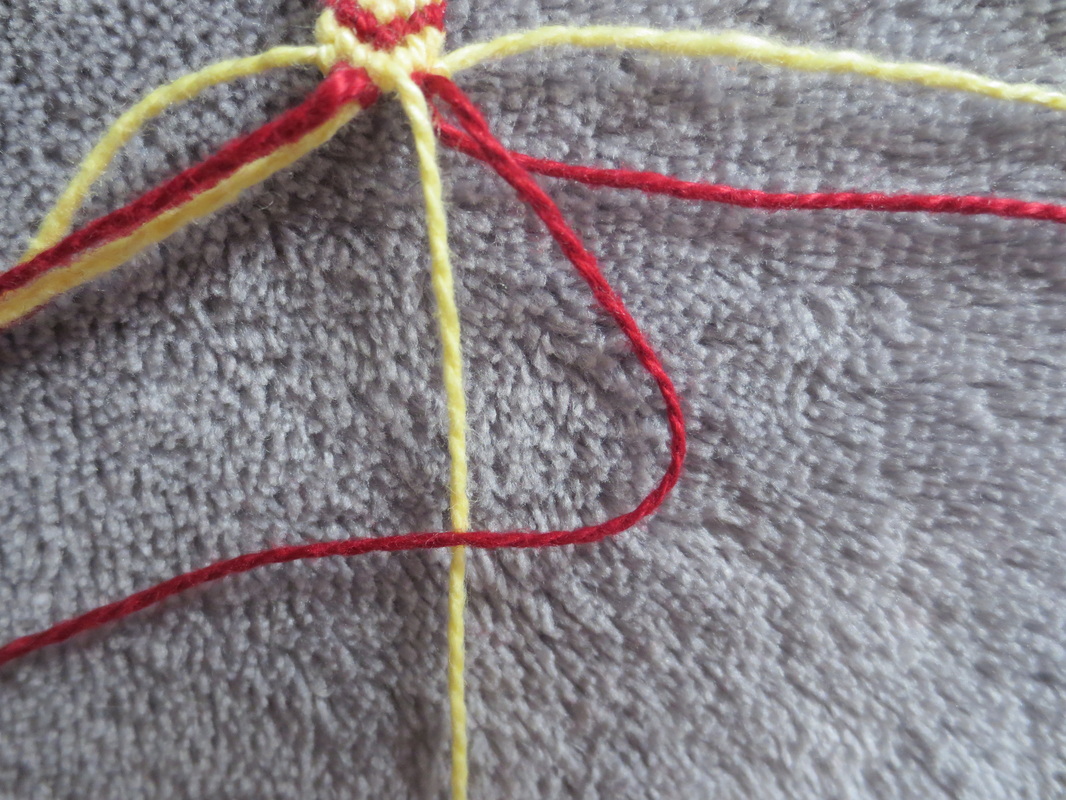
Next take the second string, which is now color A, and make two forwards knots over the third string. Then with that same string Make two more forward knots over the fourth string. So basically you've just continued the row as you would if you had been making a regular chevron row.


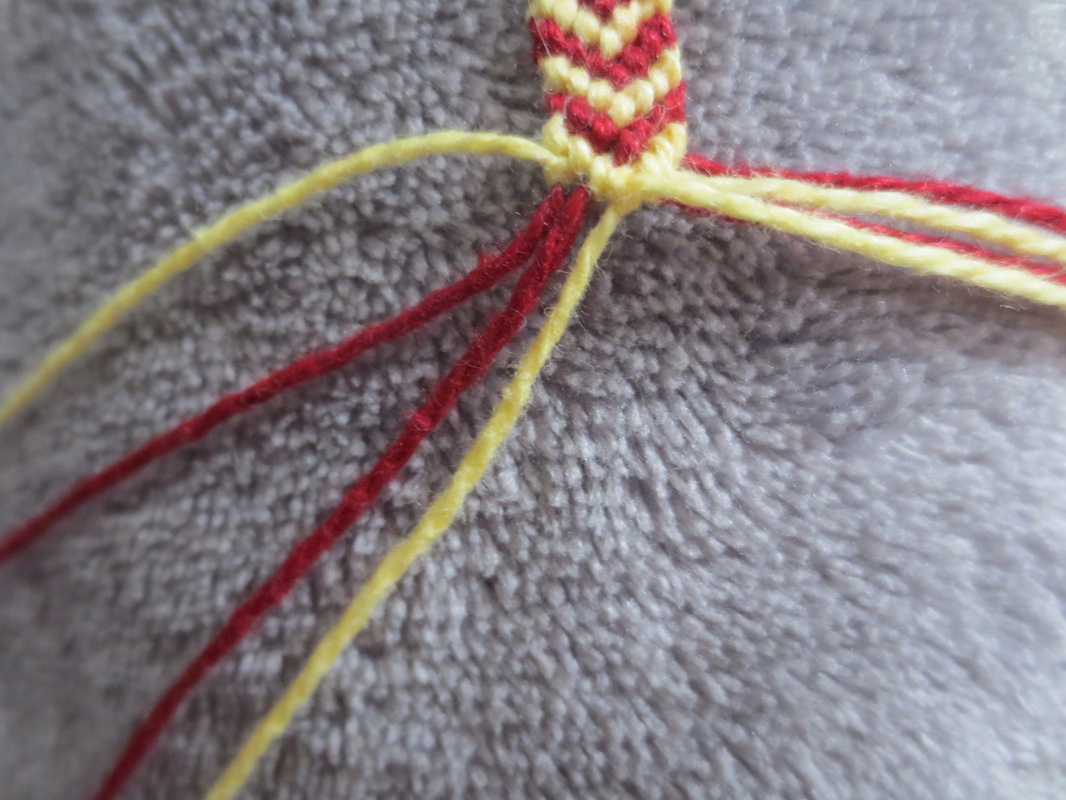
Now you've completed one half of the first row! The strings should look like this:

 | To do the other half of the row, you'll need to to do the same thing just in reverse. Start with the second string on the right of color B, and make two forwards knots over color A. |
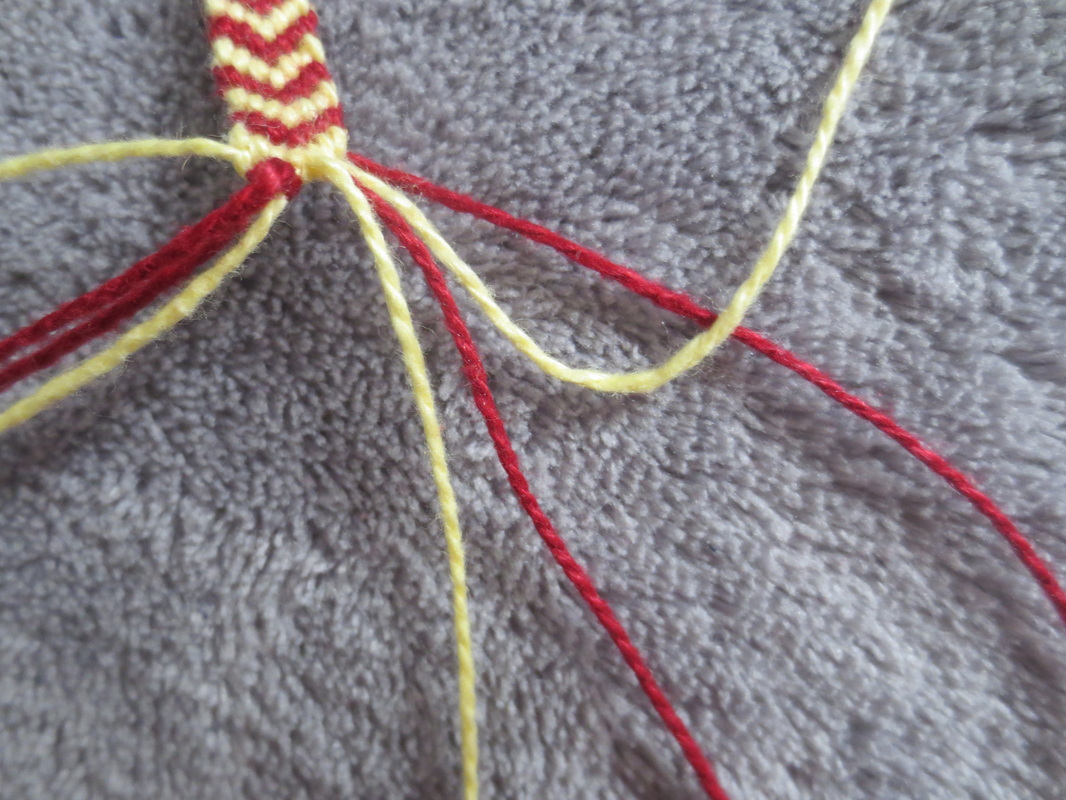
Take the A string, that is now the second string, and make two backwards knots over the next A string to the left. Then two more backwards knots on the B string.
 |  |  |
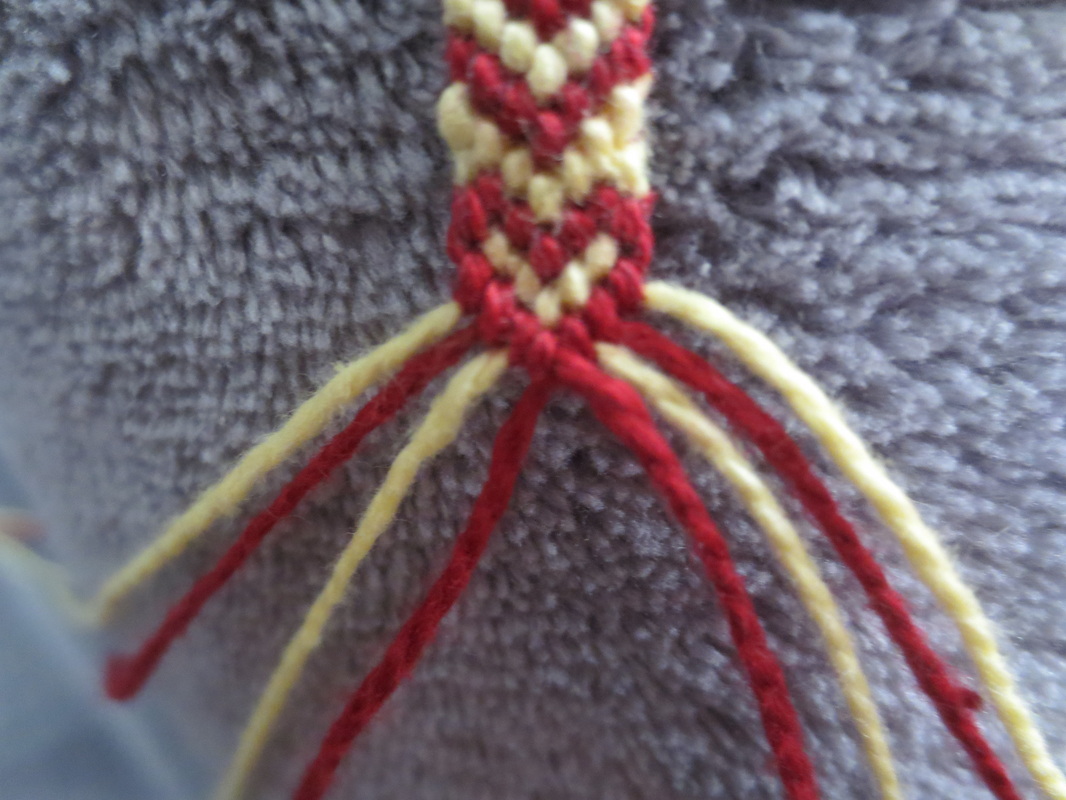
With the two A strings that have met in the middle, use the left string to make two forward knots over the right one. Now you've completed the first row! Yay! Now that you know how to make a "special" row, you can finish the bracelet. Make one more "special" row like you just did. Although it doesn't look like a heart quite yet, you're half way done. Right now your bracelet should like a little bit like this:

All you have to do now is make two chevron rows and you're done!
 |  |
So overall, the pattern to make a heart is to make two of the "special" rows, and then two chevron rows. Now you can make as many hearts as you want!
How to make a Chevron Bracelet
 | To set up a chevron bracelet, spread out the strings in an "ABABBABA" pattern like shown in the picture. To make things a little easier, think of the 8 strings as two sets of 4. The slideshow below will show how to make the chevron rows. |
